Mastering the use of lip liners is an art that has been an indispensable part of the entire beauty process for many decades. Lip liners are excellent tools for defining the contours of your lips, thanks to their slim tips, which allow for precise lines around the edges. Moreover, their matte and long-lasting formula helps to prevent lipstick from smudging beyond the lip line.
While there isn’t a fixed way to apply lip liner like a pro, a general order of application can simplify and streamline the process. Lip Neutralization corrects and evens out lip color, reducing uneven tones and dark or dark shades. So if you need help finding the right technique to enhance your skills, you’re at the right place. To help you overcome any past disappointments with lining your lips, Anna Kara Studio answers the question of how to use lip liners like a pro effectively.
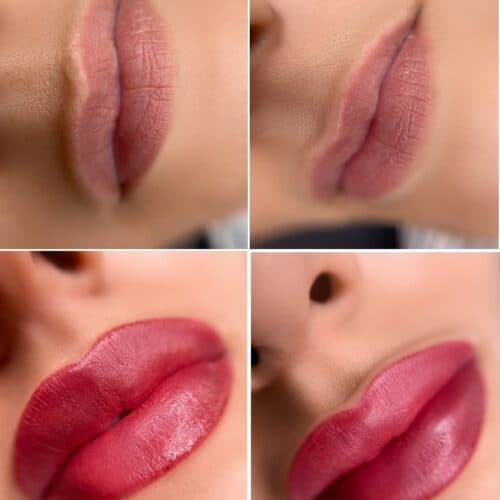
💬 Wondering if this treatment is right for you?
👉 Book a free consultation
Prep Your Lips
Similar to your skincare and makeup routines, preparing a clean surface for your lip liner is essential. Since the lip liner has a small tip, it may not glide smoothly over areas with flaky skin. So, before using a lip liner, it is important to exfoliate your lips to remove any dead or flaky skin that could impact the application process. Doing so creates a smoother canvas for the lip liner to glide properly.
You can eliminate any buildup by using a lip scrub to address this. Gently use a lip scrub to brush away any dead skin, and follow up with a lip balm to create a smooth surface. Allow the balm a few minutes to absorb before proceeding with the lip color. Once completed, blot your lips with a tissue to remove the excess balm. In a pinch, a dry toothbrush or a damp washcloth can be used for manual exfoliation. However, it is important to be gentle to prevent any irritation or microtears on your skin.
Assess Your Lip Shape
Each person possesses a unique lip shape, making assessing and understanding your shape essential before applying lip liner. Identifying your lip shape will significantly improve your ability to line your lips. If uncertain about your lip shape, take a mirror and examine it closely. Once you know your lip shape, you can align your lip liner accordingly, resulting in a noticeably enhanced lipstick application.
For instance, do you notice a well-defined cupid’s bow to match your PMU eyeliner? If yes, emphasize that distinctive V shape in the center of your upper lip and ensure precise application. If your bottom lip appears fuller than the top lip, you may want to line your upper lip, subtly improving volume at the corners using your lip liner.
Trace Your Shape
Once you have determined the lip liner formula that suits you best, it’s time to delicately outline the areas around your lips that you want to emphasize. Many permanent makeup experts (PMU) in San Diego suggest sticking to your natural lipline to avoid an unnatural appearance. A common technique is tracing from the center-top and center-bottom of your lips and gradually moving outward.
If you desire a fuller upper lip, lightly trace along the contours of your top lip, subtly exaggerating the shape to achieve a realistic fullness. A useful guideline is to use a nude lip liner, as it complements any lipstick color you intend to wear and serves as an excellent base for enhancing your lip shape. However, if you prefer not to use a nude liner, you can pick one that blends with your chosen lipstick shade to ensure a seamless match.
While tracing your natural lip line, take extra care to apply the lipliner to any creases or cracks on your lips. This step will help prevent your lipstick from smudging or bleeding.
Create a Small Shadow
To achieve fuller-looking lips with liner, use a technique favored by professional artists in photoshoots. Using a lip pencil, create a subtle shadow in the center of your bottom lip. This cleverly gives the illusion of a plumper lower lip. Next, slightly intensify the color in this area to mimic the effect of a shadow, improving the fullness of the lips.
For additional definition, you can lightly outline your lips with a lip pencil that closely matches your natural lip tone. Then, use a deeper-colored pencil to fill in the inner corners of your lips. This step works particularly well before applying lipstick as it adds contour and shape, showcasing your creativity in using lipliners. An additional technique is using a nude lip liner along the upper lash line on top of a dark liner. This technique imparts a delicate softness to the look, making it a favorite among beauty enthusiasts.
Apply Lipstick
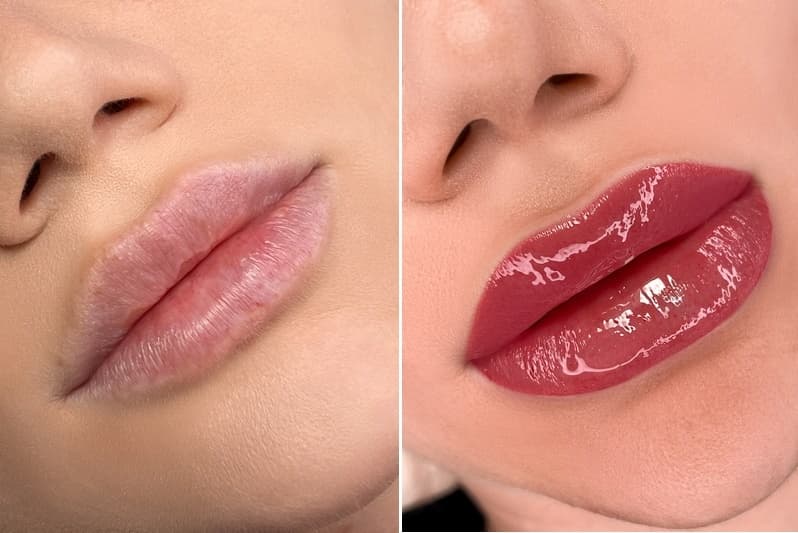
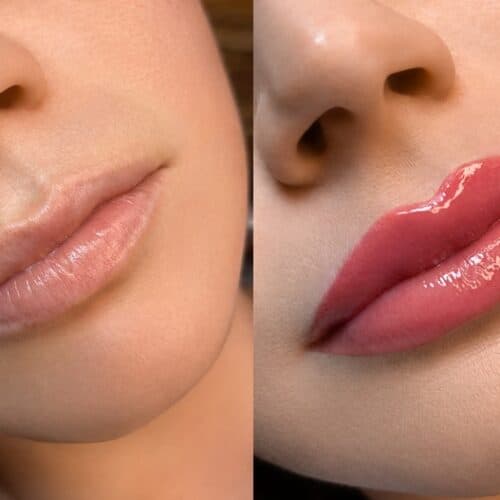
Ensuring a properly balanced lip shape is crucial, so observe areas that require adjustments and achieve overall balance once you’ve determined your desired lip appearance. Now, it’s time to put on your lipstick. Begin at the center of your lips and gradually put the lipstick outwards. For a lighter and more precise application, consider using a lip brush. Apply your matching lipstick shade directly over the lip liner to achieve a more dimensional look. Apply the perfect color straight from the lipstick bullet or improve precision by using a lip brush.
If you prefer a thicker lipstick, you can use a brush. However, remember that you may need to apply multiple layers to achieve the desired thickness compared to using the lipstick directly. While we opted for lipstick shades that match our lip liner, choose any color you desire.
Clean Up the Edges
Once you have applied lip liner and lipstick, the next step is to tidy up and create a clean, even line. To clean up the edges, you have a few options. One method is to dab a small amount of makeup remover or moisturizer on the edge of a tissue or cotton swab and gently swipe it along the edges of your lips. This will help remove any smudges or excess product.
To refine the line further, you can review the vital areas with your lip liner to make adjustments. Then, use a lip brush to blend and soften the edges for a seamless finish. After tidying up your lip liner and lipstick, you can improve your lip look by applying a gloss. This will add a touch of shine and improve the dimension of your lips.
You’re a Pro
Now, you have learned how to apply a lipliner like a pro! Your lip-shaping skills have reached a professional level, and your confidence with all types of lip liners will only continue to grow. Whether you choose a subtle, neutral shade or a bold and vibrant power lip, we at Anna Kara Studio are confident that you will flawlessly apply your lip liner each and every time from now on. And if you need permanent makeup lips in San Diego, don’t hesitate to contact us.
We are always happy to advise you on our services, such as the ombré eyebrows procedure or manicure.
FAQ
🔍 Why use a lip liner pencil?
It helps to clearly define the contours of the lips, prevents lipstick from smudging, and gives them a more expressive shape.
⚠️ Why is it important to prepare your lips before applying lip liner?
Lip liner does not go well on dry or flaky lips. A scrub and balm create a smooth surface for perfect application.
⚠️ How to prepare your lips before applying makeup?
First, gently exfoliate with a scrub, toothbrush, or damp wipe. Then apply balm, let it absorb, and blot any excess with a tissue.
➡️ Do you need to consider the shape of your lips?
Yes. Understanding the shape of your lips will help you apply the contour correctly. For example, you can emphasize the “cupid’s bow” on the upper lip or correct the volume of the lower lip.
🔄 How to outline your lips correctly?
Start at the center of the upper and lower lips and move toward the corners. It is best to follow the natural contour to avoid an unnatural effect.
✅ How do I create volume?
Draw a light shadow in the center of the lower lip. You can also darken the corners of the lips with a pencil that is slightly darker than the main color.
✅ How do I choose a pencil color?
Nude is versatile and goes well with any lipstick. Or choose a pencil that matches the shade of your lipstick for a smooth transition.
❄️ Can I combine several pencils?
Yes. One for the contour, the other for darkening the corners or center of the lips. This will add depth and volume.
⚠️ When should you apply lipstick?
After finishing the contour. Apply lipstick from the center to the edges. You can use a brush for precision and a thin layer.
⚠️ Do you need to clean up the contour after application?
Yes. Remove any excess with a cotton swab and micellar water or cream. Then correct the contour with a pencil and blend with a brush.
✅ How to finish the look?
Add gloss for shine and extra volume. This will give your lips a fresh and well-groomed look.
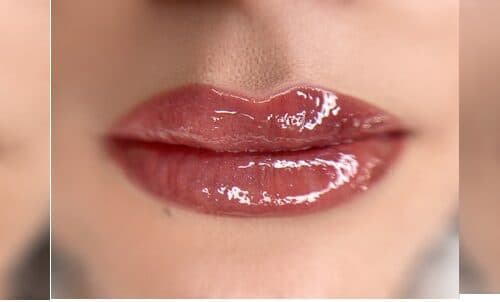
🎯 Not sure where to start?
✅ Get personalized recommendations from a PMU artist