Free Lessons

Video tutorials

Learn the basics before you pick a course

7 video lessons by Anna Kara for people who are learning permanent makeup. The first one is free for everyone. The rest are free for our students. Each one has a short summary and a full transcript. They show practice on paper and on latex, they are not advice for clients, and they do not replace hands-on training with a supervised model.

Start here: pencil practice

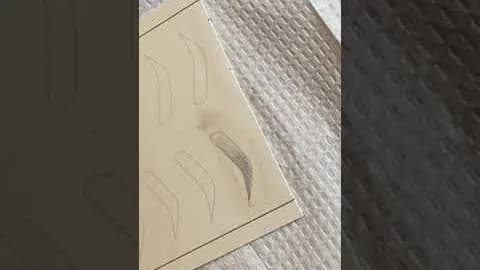
Your first exercise needs only a pencil and a sheet of paper. Do it exactly as shown, before you move to latex.

You only need a pencil and paper. Do the exercise as in the video.

Pencil Practice: hand position and shading strokes

Anna Kara shows the first exercise for a future PMU artist, done with a pencil on paper: how to place the hand and hold the pencil or machine, the linear stroke, three shading strokes (towards you, away from you and the pendulum), how to merge two blocks of shading by overlapping them about 70 to 80%, and what a bad, uneven example looks like.

What you will learn

  • Hand position: pressure goes into the elbow and the little finger, pencil or machine held with the index finger, middle finger and thumb at 90 degrees to the paper
  • The linear stroke: go slowly and come back about 80% on each stroke, until you can draw a straight line
  • Shading towards you, away from you and with the pendulum movement, the one most used in PMU
  • Merging blocks by overlapping them 70 to 80%, and layering 100% then 70% for the gradient you want
  • The homework: repeat the exercise on paper, as close to the video as you can
Read the full transcript

Let us start our practice and the understanding of hand placement. Our pressure goes into the elbow as well as the pinky. We hold the pencil or the machine with the index finger, the middle finger and the thumb. Our machine or pencil is always at a 90 degree angle to the paper. We start with the linear stroke.

We always take our time, and we always go back about 80% on each stroke. We typically use this stroke for linear hairstrokes or linear shading. There are different types of strokes, but this is the main one, and we practice it until we can draw a perfectly straight line.

Then we move forward to the shading strokes. The first one is towards us, meaning that our pencil or machine only works towards us, and we work on getting the shading all merged together without any different darkness. The next one is working away from us.

The most used shading technique is the pendulum. We will try all of the different shading techniques to find the perfect one for you, and the pendulum is the one most used in PMU work. Once again, we work on having it all even.

Now we work on connecting and moving forward, as if we were shading a brow, a lip or anything else we might work on, so that we can merge two blocks together in an even way. We continue to merge the blocks that we shade, overlapping them by about 70 to 80%. Here we have made two blocks. Depending on the technique we are using, we might use 100% on the first layer and then 70% layering, 70% layering, depending on what type of gradient we would like.

For your homework you will work on linear strokes as well as shading strokes. Fill a full page or two of paper with pencil shading. As in the example video, layer three blocks on each other until you reach a result that is satisfactory to you.

This is an example of how we do not want it to look. The blocks are not merged together, the lines are not flowing, and you would not be able to achieve an even gradient.

Edited for filler words and speech-recognition errors. Brand names and a few passages are shortened.

Your first assignment

  1. Take a pencil and a few sheets of paper.
  2. Repeat on paper exactly what you see in the video, as close as you can: the linear strokes, then the shading blocks, layered and merged by 70 to 80%. Fill a page or two.
  3. Take a clear photo of your sheet in good light.
  4. Email the photo to anna@pmu-annakara.com.

In the email, please write your name and the city you are writing from. We are glad to see your work.
Student library

6 more video lessons are waiting for you

  • 7 lessons in total

    The first one is free for everyone. 6 more cover eyes, lips and brows on latex and live models.

  • Free for our students

    Everyone who has taken any Academy course gets access, with no extra payment.

  • Full transcripts

    Watch, then read every step again and practise along.

A free consultation with our lead instructor, no obligation.

Eyes: practice set-up and lash enhancement

Start here if you have never held a PMU machine. The first lesson shows the whole practice set-up on latex.

Practice on latex: set-up and lash enhancement outline

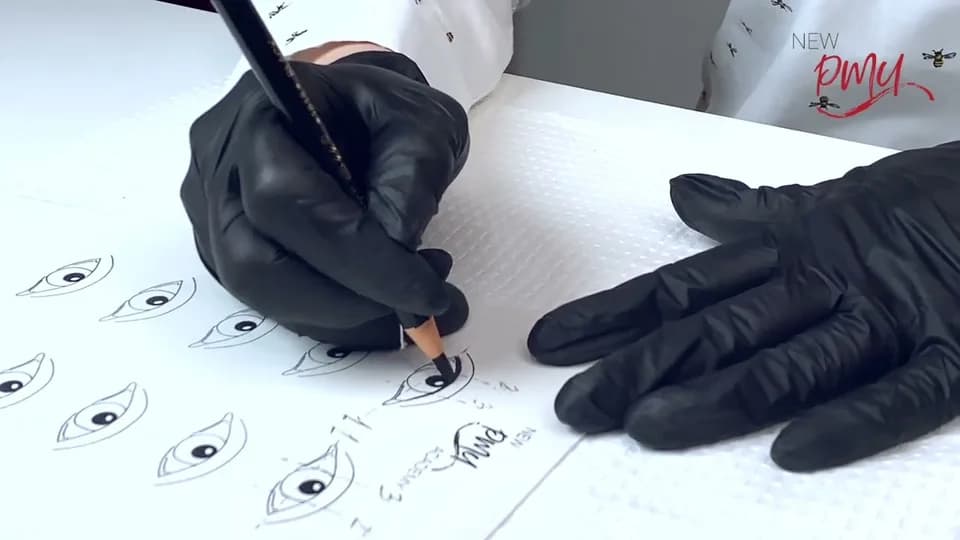
Anna Kara shows what you need to practice on latex: a wax pencil, a disposable brush, baby oil, cotton pads, 1 RL and 3 RL needles and three types of practice latex.

What you will learn

  • The practice kit and the three types of latex
  • Where to sit, and how to turn the latex for right- and left-handed artists
  • + 2 more inside

Transcript

Hi everyone, let's move on to the next step: practice on latex. These are the items you will need: a wax pencil, a black disposable brush, baby oil, two types of needles (I use a 3 RL and a 1 RL), cotton pads and three...

Unlock the full lesson

Lash enhancement technique: where to fill in (iPad demo)

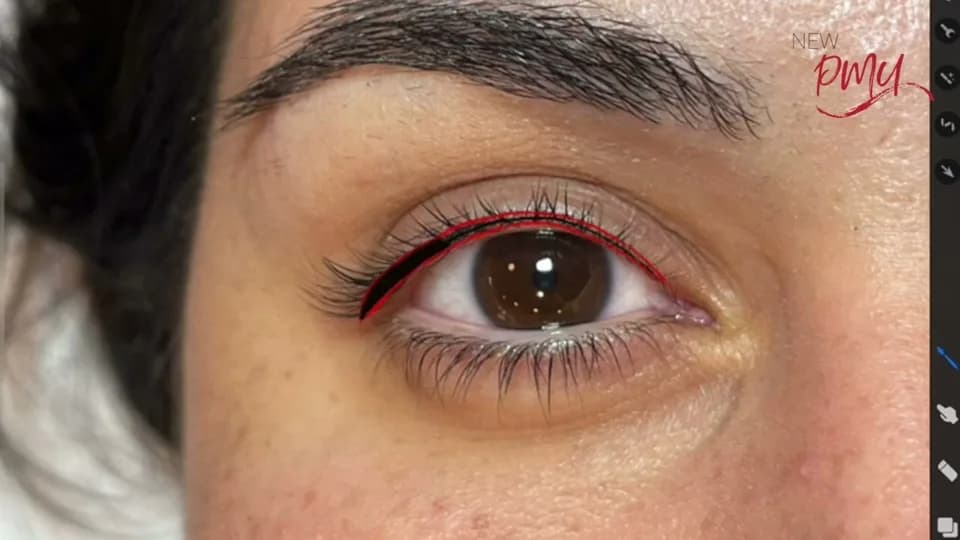
A drawing demo on an iPad: the lash line has up to four rows, and the lesson shows the two boundaries to work between, why you shade in sections from the innermost row to the upper one, and why the line should not be one straight...

What you will learn

  • Holding the machine at 45 to 60 degrees with pendulum, back-and-forth movements
  • The first boundary (where the lashes start growing) and the second boundary (the uppermost row)
  • + 1 more inside

Transcript

How to perform the lash enhancement technique and create a beautiful eyeliner that enhances the lash line and makes lashes look thicker and richer. I will show you how to do it on my iPad, and you will be able to repeat...

Unlock the full lesson

Lips: drawing a symmetrical sketch

A good lip procedure starts with a good sketch. Two lessons: the geometry on paper, then the same steps on a live model.

Lip sketch basics: symmetry on paper and iPad

Part one of a two-part lip sketch lesson, drawn on an iPad (the same steps work on paper).

What you will learn

  • Drawing the central axis and a cross, and keeping distances equal on both sides
  • Placing the cupid's bow and arch tops, then the fuller lower lip
  • + 1 more inside

Transcript

Hello, my name is Anna Kara. I am a permanent makeup artist here in San Diego, and today we will discuss how to draw a lip sketch on paper or on an iPad.

Unlock the full lesson

Lip sketch on a live model: step by step

Part two of the lip sketch lesson, drawn on a live model.

What you will learn

  • Discussing shape and size with the client before drawing
  • Finding the central point and the arch points, and drawing straight lines first, then rounding them
  • + 1 more inside

Transcript

Hello everyone, my name is Anna Kara. I am a certified permanent makeup artist here in San Diego, and I have 47 international certificates.

Unlock the full lesson

Brows: powder shading and nano hairstrokes

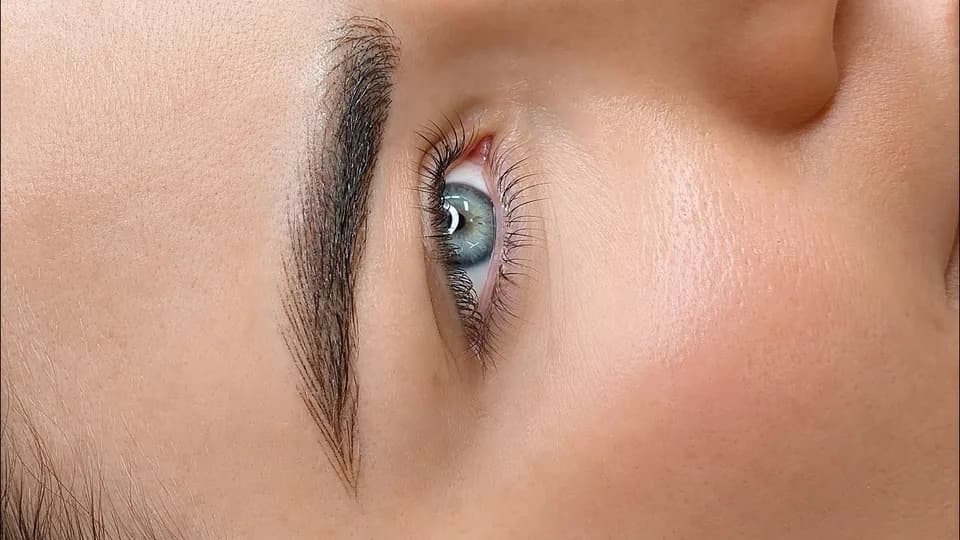
Two lessons on latex: how hand speed and machine speed work together for powder brows, and the four hairstroke types for nano brows.

Powder brows: matching machine speed to your hand

Anna Kara explains why there is no universal machine speed: it depends on your machine, your needle and how fast your hand moves.

What you will learn

  • How to adjust the power supply to your hand movement (count the dots in one shaded stroke)
  • Pendulum movement from the air, a 90 degree angle and light pressure
  • + 2 more inside

Transcript

Hi everybody, I am happy to see you again. My name is Anna Kara and I am a permanent makeup artist.

Unlock the full lesson

Nano brows: four hairstroke types, layering and homework

A latex lesson on hairstroke types for nano brows: the monoline stroke, a back-and-forth stroke started from the air, a lighter stroke that barely touches the surface, and a denser 70 to 80 percent layered stroke.

What you will learn

  • The monoline stroke and the back-and-forth stroke, and how to finish a stroke by flicking out
  • Layering: about 50 percent overlap compared with 70 to 80 percent
  • + 2 more inside

Transcript

To understand how hairstrokes work, we need to understand that there are several types of them and how we can create them. First we need to learn how to do them.

Unlock the full lesson

Ready to watch all 7?

Join any Academy course and the whole library is yours, free. Not sure which one? Anastasia, our lead instructor and curator, will help you choose.

I have a password

Not sure where to start?

Request a free consultation with Anastasia, our lead instructor and curator. She will ask about your experience and say which course makes sense. You can also compare the courses and prices first.

See courses